Checklist: What to Photograph on a Foggy River Morning
Fog does two things to a river at once. It takes away the far bank, and it hands you back the near one — the wet rail, the rope, the single angler who would be lost in a busy summer frame. That simplification is why photographers get up at five and stand on cold gravel in the half-dark. It is also why so many of them come home with forty nearly identical grey rectangles. Fog rewards a plan more than it rewards enthusiasm.
What follows is a working checklist, ordered roughly the way a foggy morning unfolds: read the water, then work from the big shapes to the small ones. Take it as a sequence or as a menu. Either way, shoot in this order and you will usually be finishing the details just as the mist starts to lift.
Before the Camera Comes Out
Stand still for two minutes. Not to be poetic — to gather information. Which way is the air moving? Even a slight drift tells you whether the thick bank of mist upstream will thin or arrive. Where is the light coming from, and where will it break first? On a river, that is usually behind a shoulder of hill or through a gap in the valley, and it can be twenty minutes later than you expect.
Walk two hundred metres before you unpack. Fog compresses distance; the bend that looked unpromising from the car park often opens into a wide, still pool with three clean layers behind it. Note where the ground is muddy, where a jetty rail gives you a straight line, where the river narrows. Those are your stations for the next hour. Then set the bag down and start.
Shot One: The Wide Layer
This is the frame everyone tries first and most people rush. The goal is not "a foggy river" but three or four distinct planes of tone: dark foreground reeds, a pale middle band of water, a darker tree line, and a nearly white sky. If you only get two tones, move until you find a third.
Standing position and lens
Get low, but not so low that the near bank blocks the water. A short telephoto — somewhere around 50 to 85mm on a full-frame body — compresses those planes together far better than a wide lens, which tends to push the layers apart and leave a lot of empty grey at the top of the frame.
Exposure in low visibility
Meter for the mist and let the trees fall dark. Your camera will try to average everything to medium grey and produce a muddy, underexposed image; add a third of a stop to a full stop and check the highlight warning. Keep the brightest mist just short of clipping. Mist is not white, it is a very pale warm or cool grey, and if you blow it out you lose the gradation that makes the shot work.
Focus manually. Autofocus hunts in flat light, and in fog the subject is often a tonal edge rather than a hard line. Set focus roughly a third of the way into the scene, stop down a little, and trust depth of field.
Shot Two: The Reflection
Fog and still water are a rare pairing — wind usually arrives with the light. Find the places where the river stops moving: backwaters behind a bridge pier, the slack water below a weir, a millpond, the sheltered inside of a bend. The surface there goes flat and pale and starts acting like a second sky.
Look for a seam — a single leaf, a mooring post, a line of bubbles — where the real world and the reflection meet. Composing around that seam is what stops the image from being an abstract blur. Turning the camera to place the seam high or low in the frame changes the whole mood; try both.
A polarising filter is tempting here, and it will cut the glare. Use it with care. Half a turn often helps the water read as water; a full turn can strip the reflection you came for. Check the effect through the viewfinder at the actual setting, not by eye on the filter.
Shot Three: Silhouettes at the Water's Edge
Fog gives you a free backdrop, and anything standing against it becomes a graphic shape. A heron on a post. An angler with a rod held at an angle. A rowing boat, a footbridge, a line of poplars. These are the frames that give scale to an otherwise beautiful but empty landscape.
The rule that matters: place the figure against the brightest part of the mist, not against a dark tree line, or it disappears. Expose for the mist so the subject goes near-black, then check that it has not merged with the bank behind it. If it has, shift two steps left or right and find a gap in the background. Wait for gesture, too — the heron lifting a foot, the angler casting. A silhouette with a readable posture is worth ten static ones.
Shot Four: The Detail Scenes
By now the mist is thinning and the big frames are gone. This is when the morning pays you back. Low visibility makes small things legible: colours go quiet, backgrounds clean up, and droplets sit on surfaces for as long as the air stays saturated.
Work slowly along the bank with a short lens or a macro and look for:
- Dew and mist droplets on spider webs strung between a mooring rail and a post
- Condensation on the inside of a boat window, with a shape behind it
- Wet rope, frayed at the end, coiled on planking
- Cobbles or gravel at the waterline, each stone darkened and separated
- A single leaf floating in flat, pale water, with nothing else in the frame
- Boot prints or tyre tracks in mud, fog still sitting in the hollows
- Chipped paint on a hull or a marker post, beaded with water
- A heron's feather, a bait tin, a thermos, an oar blade — anything that says someone was here
Use a shallow aperture for these, but focus deliberately on the nearest droplet rather than letting the camera choose. The flat light means no hard shadows to hide behind, so composition has to do the work: strong diagonals, clean edges, and empty space left in the frame on purpose.
Your Field Sequence
- Read the wind, the light direction, and the likely moment the mist lifts.
- Walk the bank and pick three or four stations.
- Shoot the wide layered view with a short telephoto, exposing for the mist.
- Find still water and shoot the reflection, composing around a seam.
- Hunt silhouettes against the brightest mist; wait for a gesture.
- Move in for details as the fog thins and the light softens.
- Turn around. The view behind you is often better lit than the one you came for.
Packing Up Without Wrecking the Gear
Cold, saturated air is the quiet enemy of a camera bag. When you step back into a warm car or kitchen, moisture condenses on and inside the lens and body, and it can stay there. Before you leave the river, wipe the outside dry with a cloth you keep for nothing else, and put the camera in a sealed bag with a desiccant sachet if you have one. Let it come up to room temperature inside that bag rather than open on a table.
Avoid changing lenses in the mist if you can. If you must, turn your back to the wind, keep the body pointing down, and do it quickly. Bring a spare cloth; the first one will be soaked by the time you reach the details.
Then do the small thing that makes the next foggy morning easier: at home, review the frames while the sequence is still fresh, and note which shot you did not get. A jetty you skipped, a bend you never reached. Fog rarely stays put long enough for a complete set, and that unfinished frame is the best reason to set the alarm again.
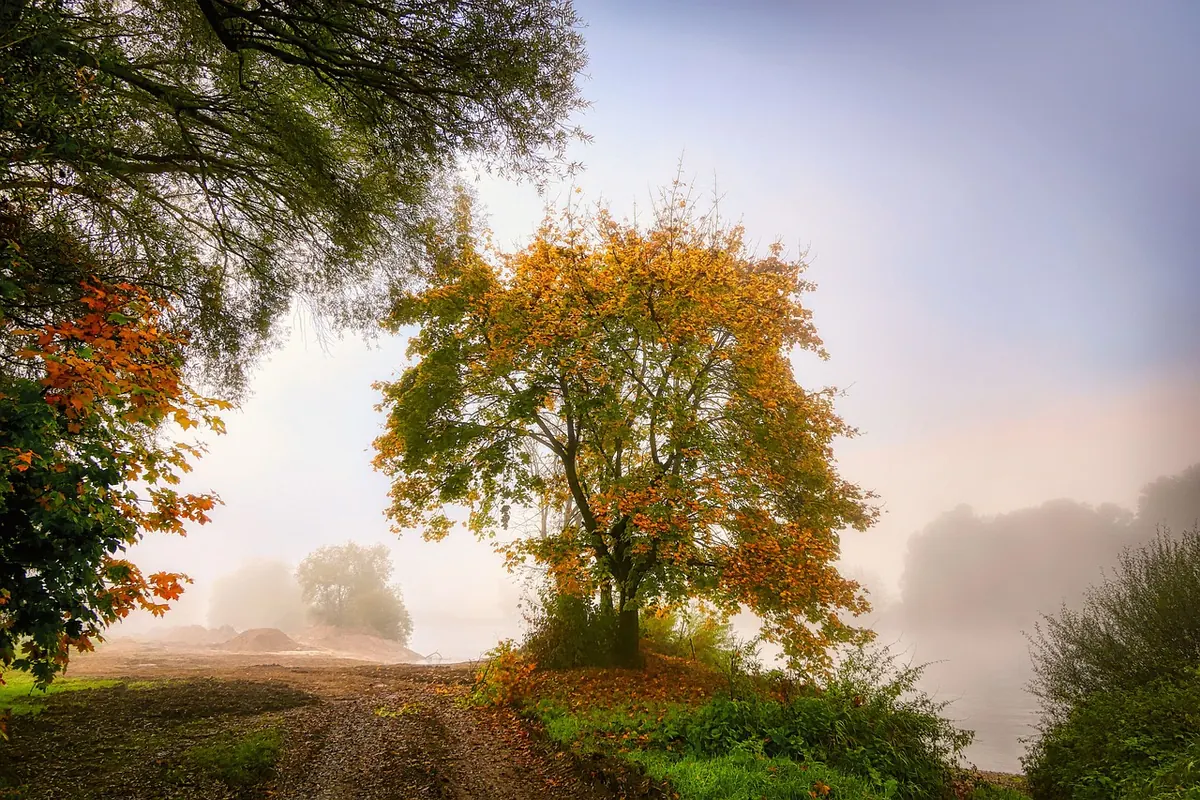
Photo: fietzfotos / Pixabay
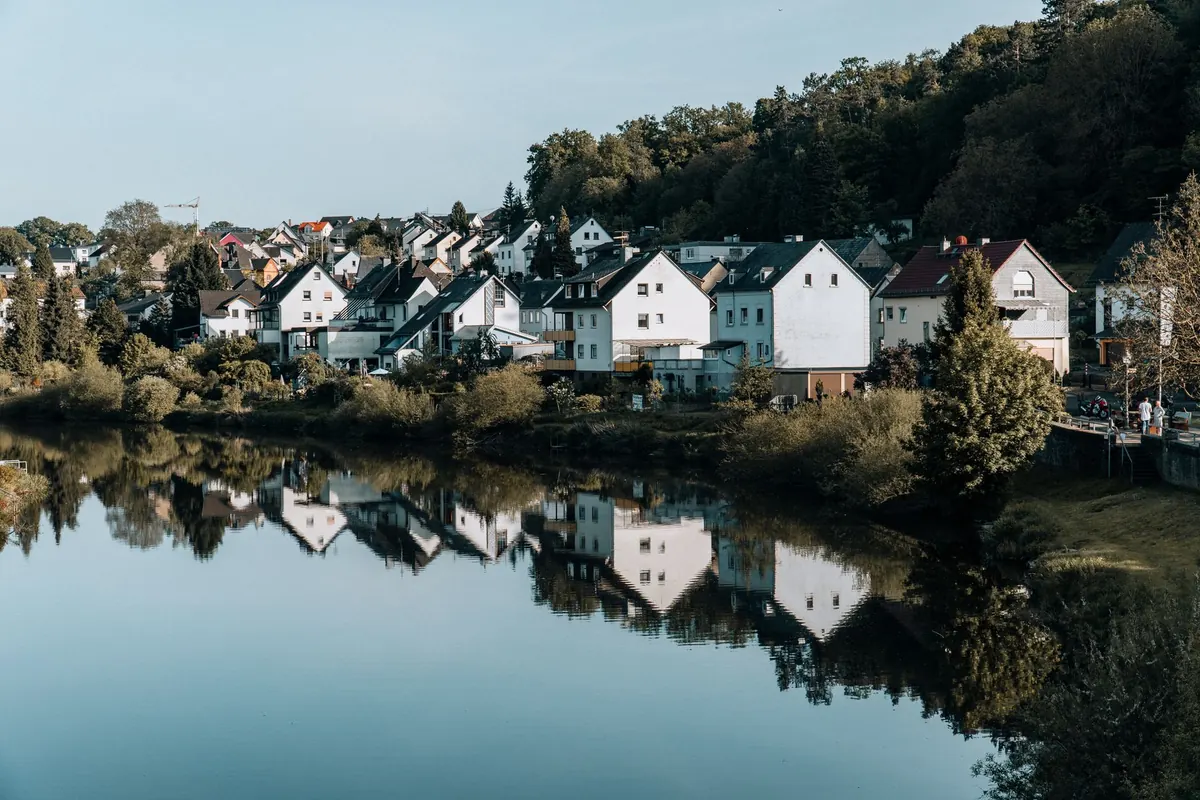
River Towns vs. Riverside Villages: Choosing Where to Stay for a Slow Weekend
A river town gives you a station, a market and dinner options; a riverside village gives you mist, quiet...
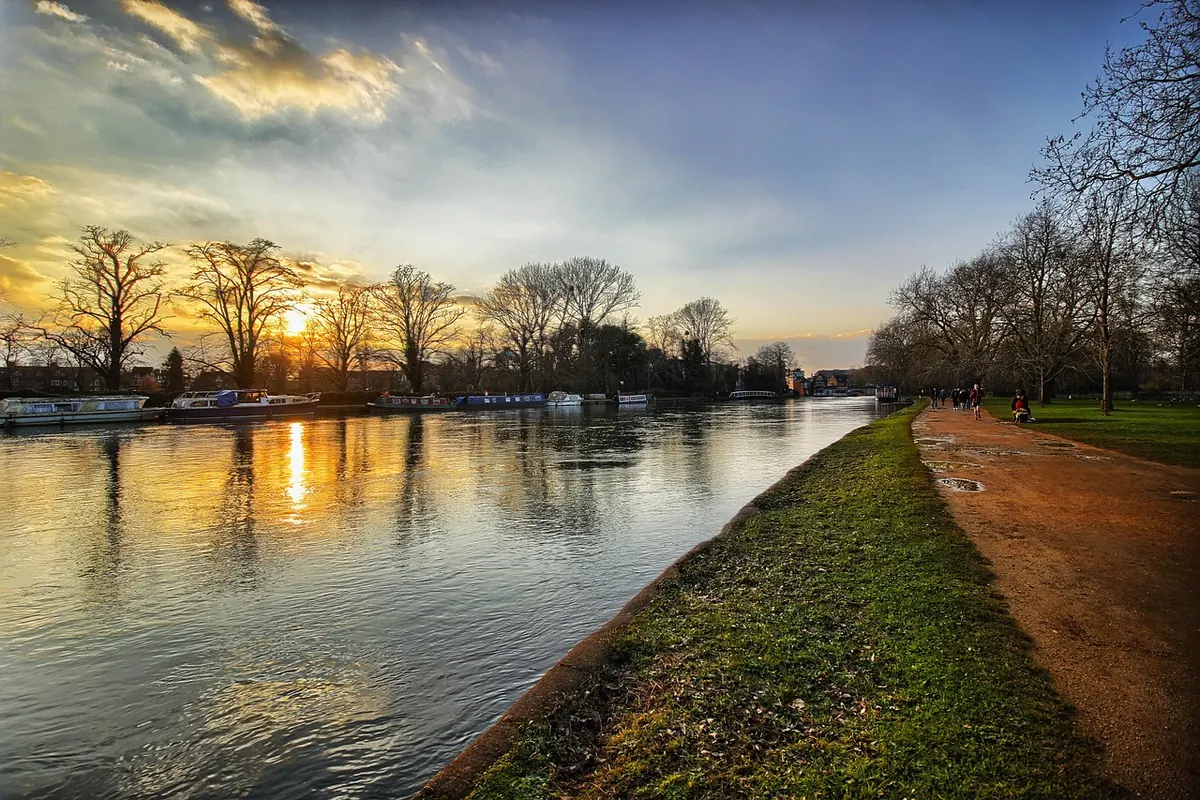
What to Wear for a Cold-Weather River Walk: A Seasonal Checklist
A practical, season-by-season guide to layering, footwear and small essentials so a windy, muddy or frosty...
About Us